By now, I already know that being a production manager is a lot of planning work. Before talking to Barbara Eppensteiner at the beginning of December (see the last blog post) I thought the go-to tool to work on Dispos and other plannings was Excel. However, she told me that there are better ways to work on pre-production!
Initially she recommended a tool called Fuzzlecheck that her workplace uses for said purpose. However, they do not offer a free license or trial time with which I could have tested and used the program. For that reason, I did my own research and stumbled across another, visually way more pleasing option called StudioBinder. I tried it out for a small private project and would love to share my findings with you.
What is StudioBinder?
According to their own website, StudioBinder is an industry leading software for the production of various sorts of media such as photo, film, TV and movie. It is said to be used by a lot of big networks including BuzzFeed. Their producer says the following about the software:
StudioBinder is an invaluable tool for our production workflow. The sleek design and smart features like call sheet tracking bring organization, efficiency and automation to our shoots, and greatly increases our productivity.
Trevor Fernando (Producer at BuzzFeed)
Above that, what cought my attention was the variety of features the program offers:
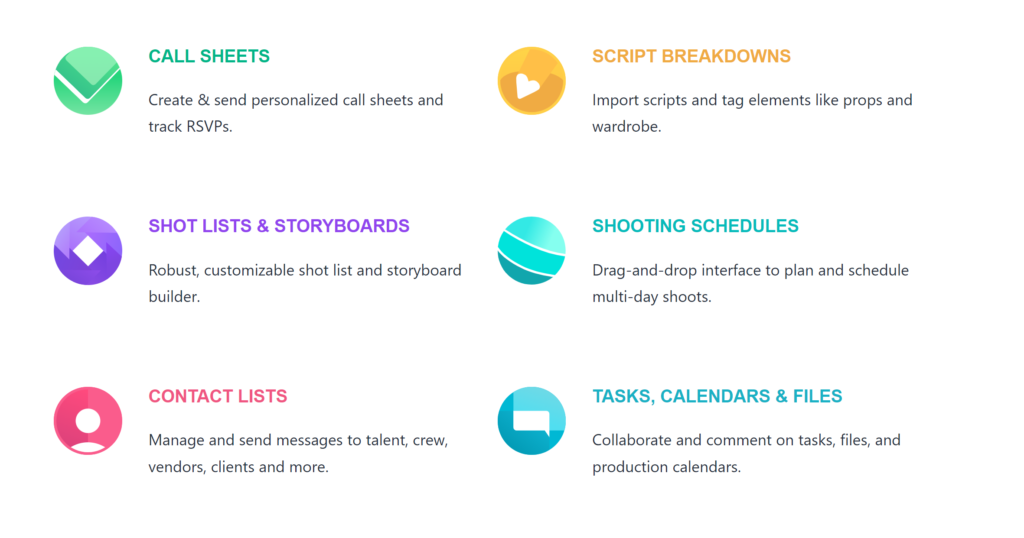
It seems that one can find every single feature any production manager could dream of. So it makes sense that after spotting the “TRY FOR FREE” button I just had to download it immediately! And after creating an account, I could get started with my own project right away.
The Test
As mentioned above, I wanted to test the software with one of my own projects to see how applicable it would be for an average filmmaker who is just getting started. As my skills in production management are not that sophisticated yet, I concentrated on the features that I would profit from the most at the moment: Scripting, the Shot List and the Production Calendar.
As a test project I chose my latest crazy idea – a scripted mountainbike short movie about the freedom of bikes (my first ever non-documentary project). I know, as my topic is about the production management of documentary films it might not be the best to use my first scripted project as an example. However, this time it just made more sense because I could test the scripting and script distribution features StudioBinder comes with. Also, this is the only project I have going on right now that has passed the “I’m talking to potential protagonists” stage (and is therefore the only one I could have used in the first place).
1. Scripting
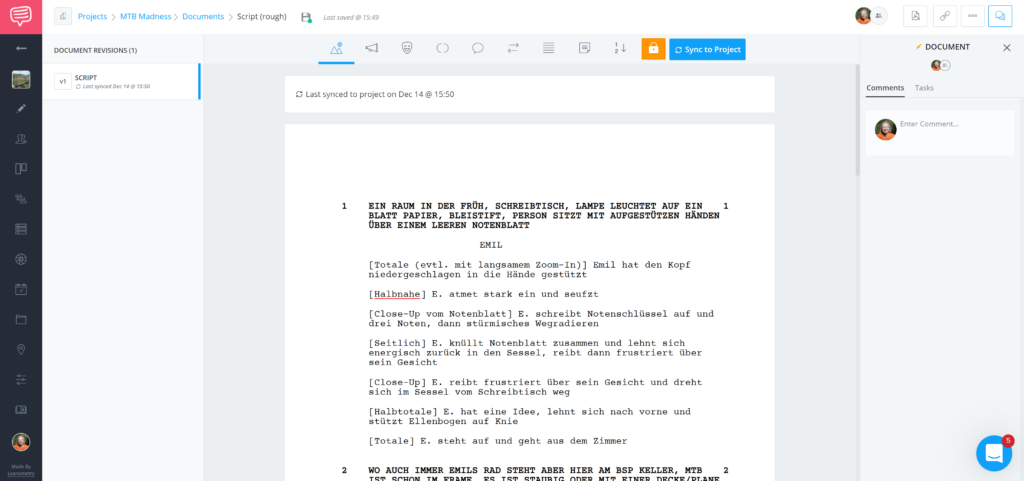
Long story short: I got started by writing my script in StudioBinder. And let me tell you, their scripting feature is awesome. It not only automatically has the right form and fonts but it also gives you some buttons on top where you can choose if the line is the charachter description, a dialogue, a location, director’s comments, etc.! The program then adapts the form according to the type of content you have chosen. This is especially handy if you’re just trying out your first script drafts or have a limited amount of experience in that field.
Here’s a screenshot where you can take a closer look at everything. Please ignore the way I mixed in camera comments into the script and keep in mind that this is my first script (selftaught) hence there are for sure some mistakes. We’re here to test the software, not to judge my script skills.
For those who are already a little bit more sophisticated in script writing, you can also import existing scripts. Also, there’s a feature where you can turn your scenes and other parts of the script into scenes for your shot list, storyboard and production plan. Generally, a lot of features are intertwined with each other in StudioBinder which allows you to work seamlessly and optimize your time. That way, you don’t have to rewrite the contents of your script when it comes to your shot list planning.
2. Shot List
Speaking of, the shot list in StudioBinder was the second thing I tried out. As I had marked my scenes in the script already, the software automatically suggested these for the creation of the shot lists. I don’t exactly know if that’s the way to go for big, professional productions but for me it made sense to write a shot list divided into the different scenes. What I ended up with was a list of shots already numbered with a lot of information that was nice to have before the shoot. Here’s a screenshot of two of them:
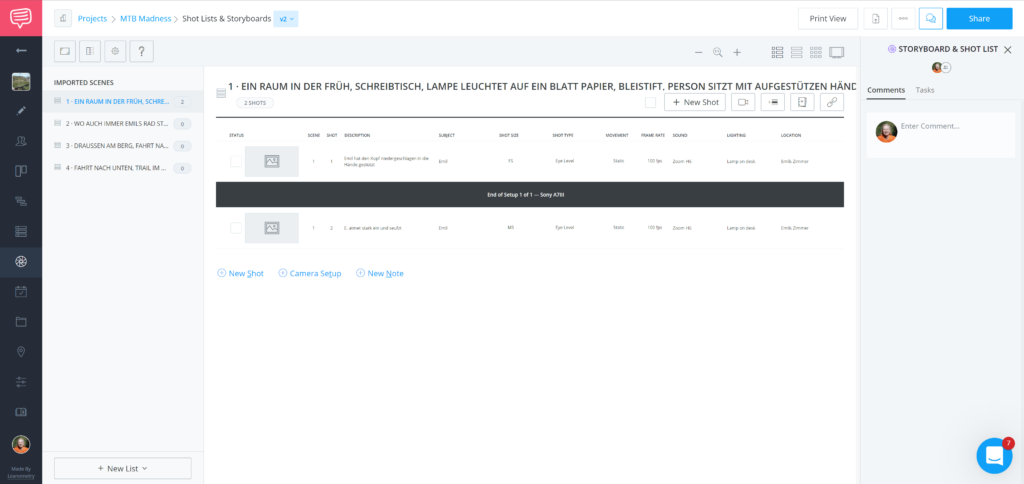
As you can see, you can add a lot of different information to every shot. You can customize the details you would like to display and add. That way you only see what you need. There’s also the possibility to create setups. On top of that, you can add your frames from the storyboard and will end up with a perfect collection of shots to shoot on set.
If you’re done writing your shot list, you can access the print view and print out your shot list. That way, you don’t have to carry your laptop everywhere to tick of shots and can easily come back later to simply update your list. The print view is well-designed and has all the details at the same time. It will look something like this:
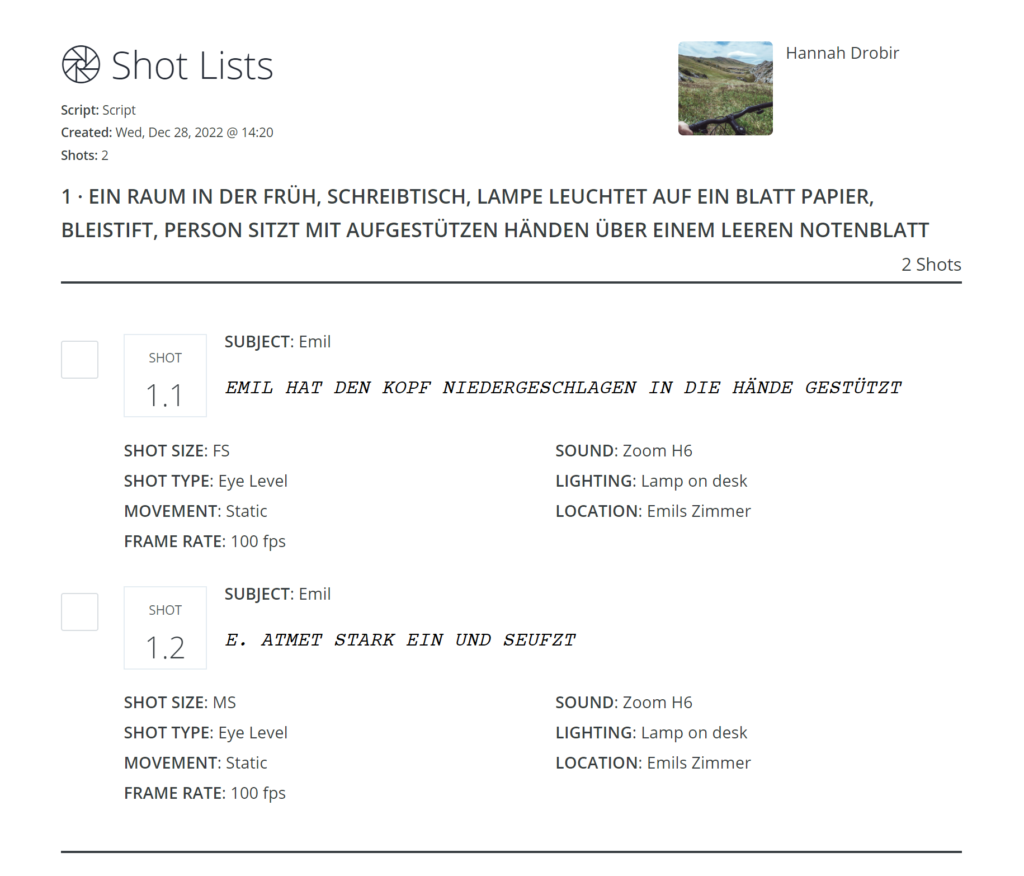
With all these features the shot list in StudioBinder can be a valuable tool in your production management workflow.
3. Production Calendar
The final feature I wanted to try was the production calendar. As a small filmmaker I mostly work as a one-woman show. Being able to manage and have an overview of all the different tasks combined with a calender therefore is worth a lot. StudioBinder offers exactly that!
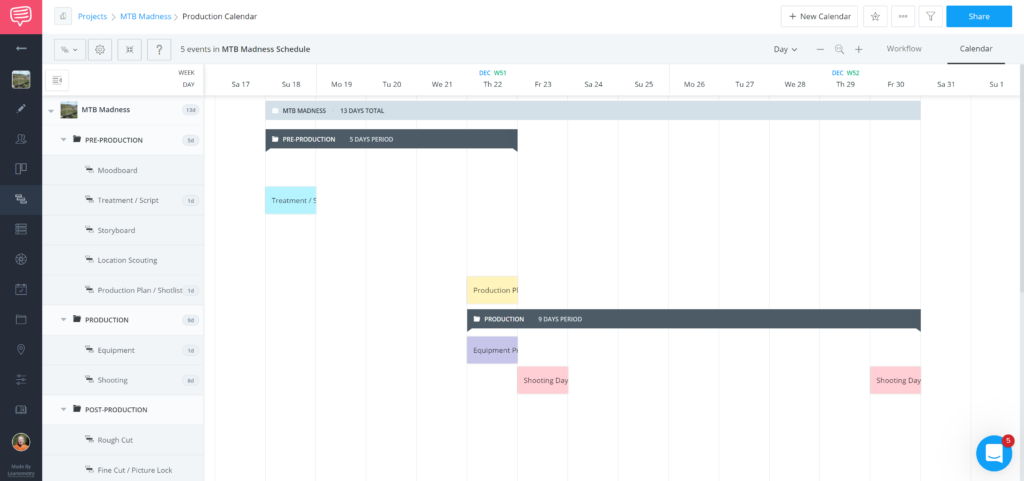
The production calendar is divided in different sections which can be seen in the left collumn in the following screenshot. You can then go ahead and drag your to-dos across the dates you’ll be working on them. After that, you can assign colors (which makes every designer’s heart beat faster), add to-dos for every single task, add collaborators, assign roles and so on. You’ll then end up with a production calendar that is accessible to everyone and is easy to understand. Here’s a quick screenshot of how that could look:
You can also share the production calendar with people who are not users of StudioBinder. I sent the calendar to my protagonist and we could easily discuss dates and deadlines with this as a basis. I also enjoy that for every event in the calendar, StudioBinder automatically creates a Workflow element that can be viewed in a seperate tab. It works like a to-do list and is divided into categories such as “on hold”, “in progress” or “needs review”.
Final Opinion
After using StudioBinder for the production planning of a small project (and using the printed version of my script and shot list during the shoot itself) I am 100% sure that I will continue using this software. However, I quickly want to mention the limitations of the free version before I close off this post.
When using the free StudioBinder version, you can only have one project at a time, the number of calendar entries is limited as well as the number of shots for your shot list and storyboard contents. For me personally that is no problem. As I am not obligated right now by sponsors or customers to keep my project plans, I can just delete them after downloading the print version and screenshotting the calendar. If you wanted to use the software for more serious stuff or bigger projects, I would definitely recommend buying a license.
The licenses can be bought via the website and can be billed annually or monthly. There is the possibility to get a student discount if you have created your profile with your edu email adress. After that you just have to write them a quick message and they will tell you more about the discount.
To sum up, I really recommend trying out the software at least for one project. It might take some time until you understand the various features but I am sure it will pay off. Project management is one of the most important skills every filmmaker (especially if you’re kinda just starting to be one) should learn.
If you need help with that, StudioBinder also has a really great Blog where you can find tips and tricks on a lot of different Media Design topics.
That’s it for this blog post and my StudioBinder test. If you want to try it out and need some help, hit me up. Other than that, enjoy the rest of the year!
.
.
.
Sources
- StudioBinder: A seamless production workflow — all in one place. In: StudioBinder, https://www.studiobinder.com/ (last seen December 28 2022)