A workshop with fuse* design studio focused on generative art installations.
Through a lot of research in the field of machine learning and artificial images I found a design studio from Modena (Italy) named fuse* who hosts a discord server for exchange. Not only do they encourage to ask questions about their design process but also announce new projects.
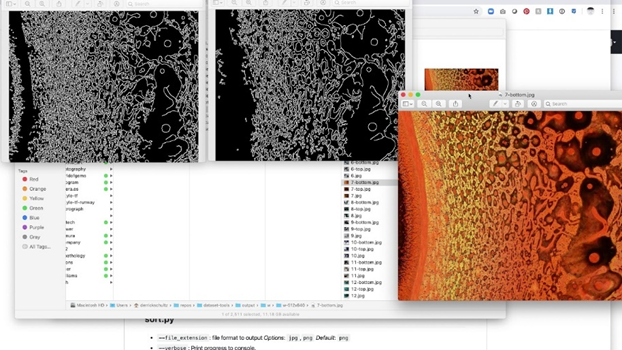
One week after I joined, they announced a workshop about one of their art installations called “Artificial Botany”. Since I already knew from my previous research what algorithms and tools they might have used, I knew this would be a good opportunity to get insights into the actual design process and more importantly the scale of complexity when applied in a museum like environment.
To summarize, I got insights about the complexity and sub-processes between data collection and the final video. From my first Impulse I already knew how the technical workflow looks like, but I clearly underestimated the process of tweaking and manipulating data sets to produce the desired video output instead of a random generation. As the creation of a single Video already requires a lot of processing power, tweaking and manipulating requires many more cycles and regenerations. After this workshop I see this point in a different way – being more confused because of complexity I simply haven’t seen before.
With this knowledge I ask myself whether this complex, energy hungry and time-consuming process suites my end goal. Are there other simpler approaches to visualize cracking ice in an interactive environment? Is this part of my installation going to be the focus, to justify the time it takes to produce the needed video content with a StyleGAN algorithm?
Whether or not, the videos that are being created with StyleGAN are truly impressive and by taking real iceberg pictures and bringing them to life through machine learning, would greatly fit the dramaturgy of my installation.
After this workshop I have strong concerns about the complexity of my concept. I think I need to get the opinion from an expert in the field of computer vision and maybe come up with simpler alternatives. So far, the following alternatives would greatly reduce the complexity of my project. The list is ordered starting with more abstract solutions up to authentic representations.
- Draw the cracks by hand and capture them frame by frame to make a stop motion clip I could layer on top of satellite photo of an ice texture.
- Tweak a generative algorithm (for example Random Walk) to recreate a crack structure.
This alternative would animate a generative drawing algorithm that gradually expands. The algorithm should draw a random line that has a structure similar to crack and gets bigger over time. This approach is similar to my first proposal but drawn by an algorithm.
- Create a Blender animation with a premade texture.
For the crack structure I have found the following tutorial showing how to produce a procedural cracked earth effect. In a second step I would need to change the earth texture with an ice texture and modify the crack structure to show instead of a dark hole a water texture.
Tutorial: https://www.youtube.com/watch?v=oYEaJxw4pSo&list=PLOY1I6t4tn5CUFdRrko352uxnNTGYavV-&index=3
- Create the complete ice texture with the help of Stable Diffusion.
A browser interface can be downloaded and run local on the computer: https://github.com/AUTOMATIC1111/stable-diffusion-webui
- Cut a plain displaying a satellite image of ice with an 3D object.
In this approach I would create a 3D object and modify its surface with a texture modifier to produce a terrain structure. In the next step I would cut the plain with the satellite image as texture with the 3D object. By moving the 3D object up and down I could animate a melting effect of the ice.
- Import GIS data into Blender and animate it over time.
For this alternative I could use a Blender add-on that can import google maps-, google earth- and GIS data. With this approach I would be able to rebuild the structure and its change of a real iceberg.
Blender add-on: https://github.com/domlysz/BlenderGIS
Tutorial: https://www.youtube.com/watch?v=Mj7Z1P2hUWk
This addon is extremely powerful as it not only imports the 3D-structure from NASA but also the texture. Finally, I could tweak the texture a little bit with blender’s shader editor and produce multiple renderings for different years.
Although, Google Earth offers the option to view data from previous years, I am not sure if this will work with the Blender add-on.
Link to the studio: https://www.fuseworks.it/