The last time I shortly mentioned all the important things that have to be included into a brand identity. In this blog post I will start to get a bit deeper to all of the important factors.
It is important to write about the back story of a fashion brand for its brand identity, since this can create a compelling narrative that resonates with the target audience and effectively communicates the essence and values of the brand. Successful companies are very good storytellers. The purpose of brand storytelling is to build an emotional connection between a brand and its target audience by creating a series of plot points.
We can start by sharing the inspiration behind the brand. It is relevant to discuss the founder’s vision, the story of how the brand came into existence, and any significant influences or experiences that shaped its creation. This can help establish a personal connection with the audience and showcase the unique perspective of the brand. We have to clearly express the core values and mission of the fashion brand. Explaining the purpose and beliefs that drive the brand’s decisions and actions. This can include commitments to sustainability, inclusivity, craftsmanship, or any other principles that differentiate your brand and align with your target audience’s values. Another relevant stage is to describe the design philosophy of the brand. Discussing the aesthetics, styles, and artistic inspirations that define the collections. Sharing insights into the creative process and how we can translate the brand’s values and vision into unique and desirable fashion pieces.
If the fashion brand has a rich heritage or incorporates traditional craftsmanship or techniques, we should highlight these aspects. Discussing the historical significance or cultural influences that contribute to the brand’s identity. Emphasizing how the honour and reinterpret tradition in a modern context.
Very important is also to develop a distinct brand personality and voice that reflects the brand’s identity. Consider the tone, language, and style of writing that best represents the brand’s character. Whether it’s playful, sophisticated, rebellious, or any other attribute, ensure consistency in expressing this personality across your brand communications. We must craft a compelling and engaging narrative. Using storytelling techniques to create an emotional connection with the audience. Sharing anecdotes, milestones, or pivotal moments that have shaped the brand’s journey and illustrate its unique character. Some elements that can be used are: empathy, attention-grabbing, authentic, relatable, consistency, aligning with business goals and provoking actions. Clearly articulating what sets the fashion brand apart from others in the market. Highlighting the distinctive features, innovations, or experiences that make your brand stand out. This could be a unique design approach, sustainable practices, ethical sourcing, or any other factor that makes the brand unique and different from others.
MOODBOARD
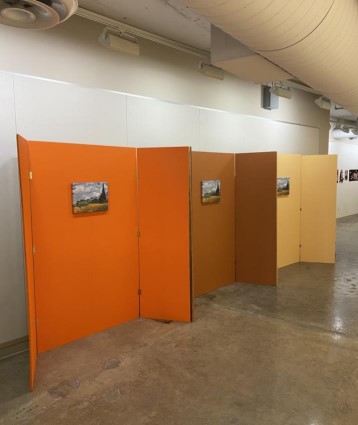
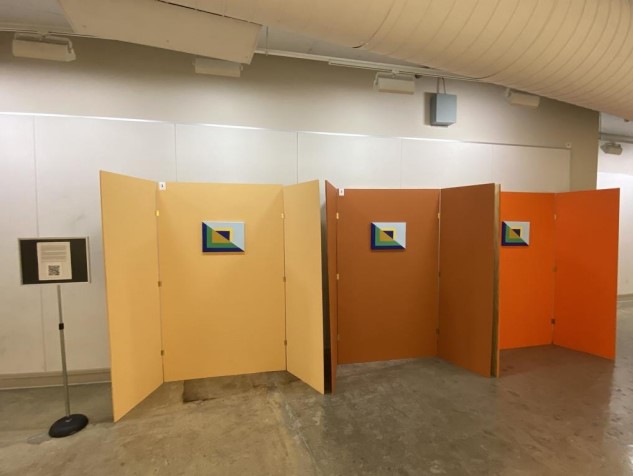
Creating a moodboard for a fashion brand identity is essential to visually convey the brand’s desired aesthetic, atmosphere, and emotions. Serving as a powerful communication tool, the moodboard aligns stakeholders on the brand’s identity and guides its creative direction. By showcasing inspirations from fashion trends, art, culture, and nature, the moodboard informs the overall mood and aesthetic, establishing a foundation for design decisions and creative exploration.
Colors and color palette selection play a vital role in the moodboard, as they evoke specific emotions and contribute to a consistent visual identity. Considering factors like seasonality, brand personality, and target audience preferences, the moodboard carefully selects colors that convey the desired associations, resulting in a memorable and harmonious visual identity.
Textures and materials depicted in the moodboard contribute to the desired look and feel of the brand. Through the curation of fabrics, patterns, finishes, and tactile elements, the moodboard effectively communicates the sensory experience the brand aims to create. By exploring a range of textures, from soft and luxurious to bold and edgy, the moodboard guides the selection of materials that align with the brand’s identity.
The visual style and imagery presented in the moodboard define the creative direction of the brand. Elements such as composition, lighting, perspectives, and overall aesthetic are carefully considered. Examples of photography, illustrations, and other visual elements captured in the moodboard serve as a visual compass, guiding the brand’s creative team in developing assets that align with the brand’s identity and narrative.
Furthermore, the moodboard delves into key themes and concepts that are integral to the brand’s identity. Whether drawing inspiration from culture, nature, history, or emotions, these themes are reflected in the visual elements, shaping the brand’s narrative and strengthening its connection with the target audience.
Coherence and consistency are paramount in the moodboard. It acts as a guiding principle, ensuring that the visual elements harmoniously come together to create a unified brand experience. By aligning the moodboard with other brand assets like the logo, typography, and overall design direction, the brand identity remains consistent across all touchpoints.
In conclusion, the moodboard serves as a powerful tool in shaping the visual identity of a fashion brand. By capturing the desired aesthetic, atmosphere, and emotions, it provides inspiration and guidance to the creative team, resulting in a compelling and coherent brand identity that resonates with the target audience. The moodboard’s incorporation of inspirations, colors, textures, visual style, and key themes sets the stage for a captivating brand identity.
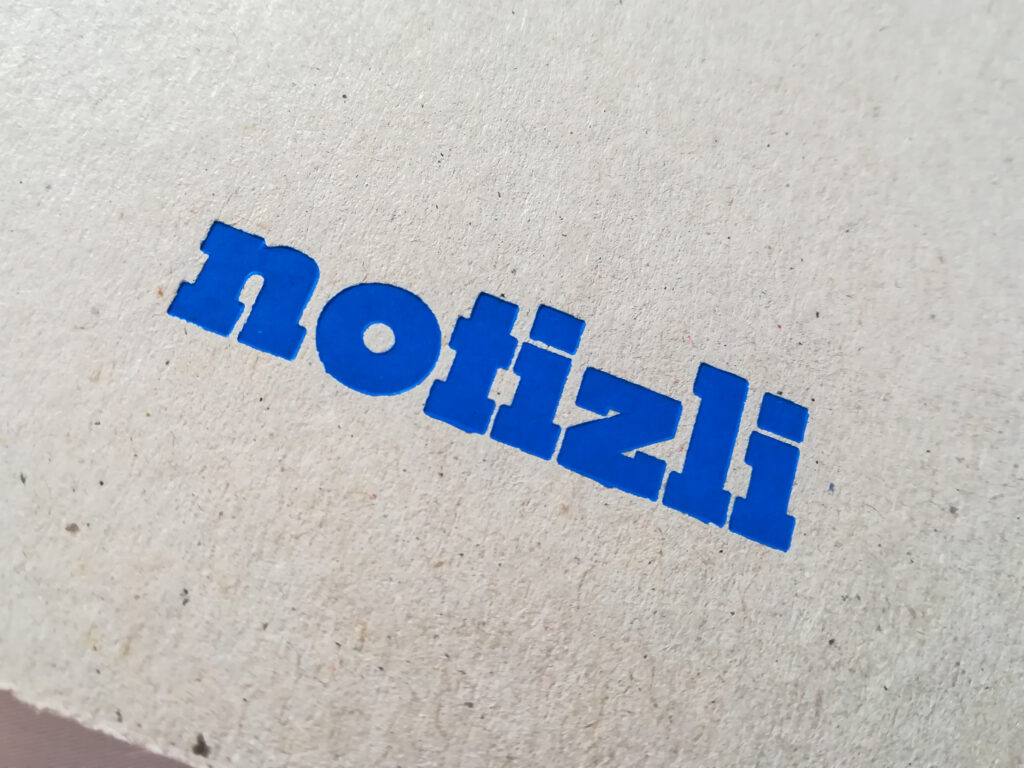
LOGOS
When presenting a logo and its variations there a lot some important things to consider.
The best is to start with explanation from the back story and mouldboard to explain the concept, meaning, and inspiration behind the logo. We have to highlight its unique features and how they align with the brand’s identity and values. This provides context and helps stakeholders understand the logo’s purpose. When showing the variations of the logo we have o ensure to maintain visual consistency in terms of colors, typography, and overall design elements.
It is always good to present different variations of the logo for various use cases. For example, how the logo works in different sizes, orientations (horizontal and vertical), and backgrounds (light and dark).
COLOR
The chosen colors should align with the brand’s identity, values, and personality. Considering how the brand wants to be perceived—is it bold and energetic, sophisticated and elegant, or playful and vibrant. The colors should reflect these qualities and evoke the desired emotional response from the audience. Understanding the target audience is crucial in color selection. Different colors can have different cultural or psychological associations, and they may elicit different responses from various demographic groups. Considering the preferences, cultural background, and psychological impact of colors on the intended audience to ensure relevance and resonance. The chosen colors should help the brand stand out and differentiate itself from competitors. A logo that stands out visually can capture attention and leave a memorable impression. Also important to consider is that colors have inherent symbolism and meanings associated with them. For example, red may symbolize passion or energy, while blue may convey trust or reliability. Important is also how the colors may look like on a cloth in case they will be sewn on the clothes.
A logo is a long-term investment for a brand, so it’s important to choose colors that will remain relevant and timeless over time. Avoid overly trendy color schemes that may quickly become dated.
BRAND PATTERN AND ELEMENTS
If there are some they have to be showcased. All the shapes have to be explained why they have been specifically designed.
SOCIAL MEDIA FEED
A social media feed example allows stakeholders to see how the logo and brand identity will appear in a real-world setting. It provides a practical and relatable context, showcasing how the logo will be integrated into various content formats, such as posts, stories, or profile pictures. This helps stakeholders envision the logo’s visual impact and how it aligns with the
with the overall brand aesthetic within the digital space. Social media platforms play a significant role in brand communication, and maintaining visual consistency across different touchpoints is crucial. Including a social media feed example demonstrates how the logo and brand identity elements are applied consistently across posts, ensuring a cohesive and recognizable brand presence. It showcases how colors, typography, imagery, and other visual elements work together to create a unified brand experience.
MOCKUPS
Mockups allow stakeholders to see how the logo or brand identity will look when applied to different mediums, such as apparel, packaging, stationery, clothes, or digital platforms. They provide a realistic and tangible representation of the design, enabling stakeholders to visualize its application and assess its visual impact in a practical context. Mockups help understand how the logo or brand identity integrates with other elements and complements the overall brand experience. By placing the design in relevant settings, such as clothing tags, shopping bags, or social media profiles, mockups provide a visual context that allows stakeholders to evaluate the design’s effectiveness in conveying the brand’s identity and messaging.Design Assessment: Mockups facilitate a thorough evaluation of the logo or brand identity. Stakeholders can assess factors such as color harmony, typography legibility, scalability, and overall aesthetic appeal. Mockups also allow for feedback and iteration, as stakeholders can provide specific comments on how the design interacts with different materials, surfaces, or digital environments, helping to refine and improve the final result.