I got the chance to take part in a music workshop where we build three types of microphones:
- Binaural Microphone
- Piezo Microphone
- Electromagnetic Field Microphone
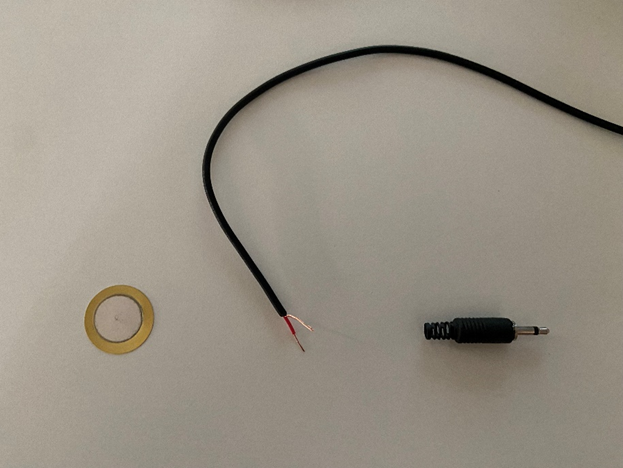
If you want to build one of the microphones on your own, you will need the following parts.
Binaural Microphone:
- 2x electret capsule mod. CME-12 (or similar omnidirectional)
- 1x mini stereo jack male solderable aerial 3.5 mm
- 1m coaxial audio stereo cable
Piezo Microphone:
- piezoelectric ceramic disc buzzer model 27EE41
- 1 mini mono jack male solderable aerial 3.5 mm
- 1m coaxial audio stereo cable (separate each channel into two we only need one channel)
Electromagnetic Field Microphone:
- 1 magnetic inductor (choose the one with the highest power)
- 1 mini mono jack male solderable aerial 3.5 mm
- 1m coaxial audio stereo cable (separate each channel into two we only need one channel)
Additional Equipment:
- soldering iron
- solder wire
- electrical tape
While the piezo- and electromagnetic microphones will be connected via mono audio cable and jack, the binaural microphone needs a stereo cable and jack. The following soldering example refers to the piezo microphone but will be for all three microphones the same.
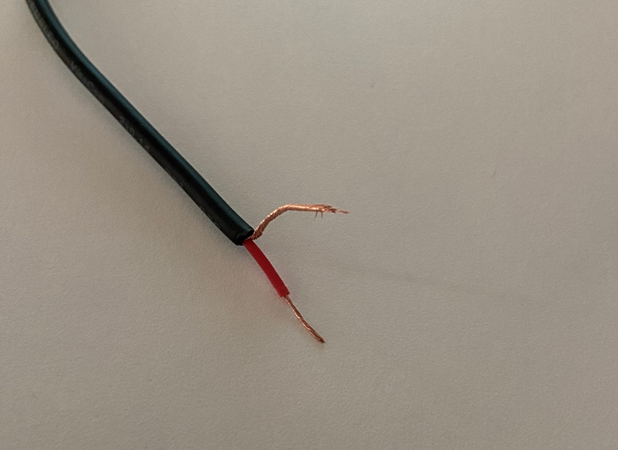
At the beginning you need to remove at the endings of the cable a small part of the outer insulation (see image below). Now you can see a red insulated wire and a loose wire around it. While the loose wire when twisted together acts the negative pole, the red insulated wire acts as the positive pole.
After this step you can start to solder one end of the cable on to the piezo microphone. The red wire should be soldered on to the silver area and the other one on to the golden area. It is important that each cable is only connected to one of the areas and doesn’t overlap with the second one.
Note: For additional protection of the solder points you can put hot glue on the entire surface, as the contact surface for the microphone is the back side.
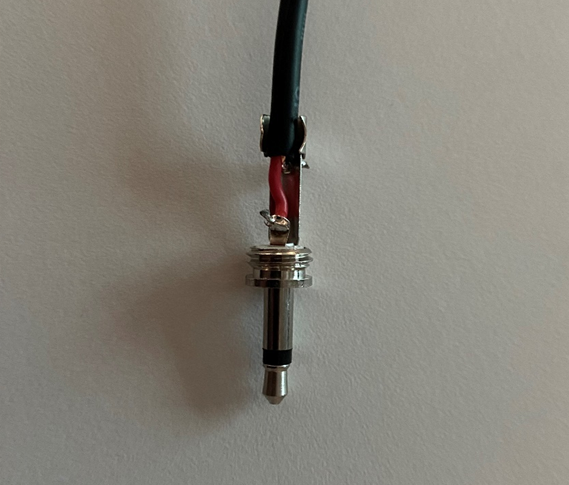
The final step will be to solder the second end of the audio cable on to the audio jack. The red wire (positive pole) needs to be soldered in the inner part of the jack and the loose wire (negative pole) needs to be soldered on to the outer part (see image below).
Now put the cover back on the audio jack and test your new microphone.
Here you can listen to an example recording I made by scratching on a wooden plank.